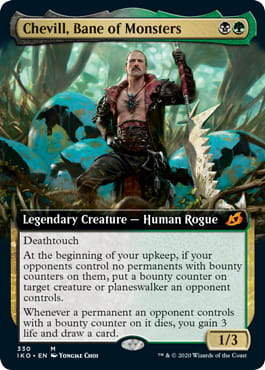
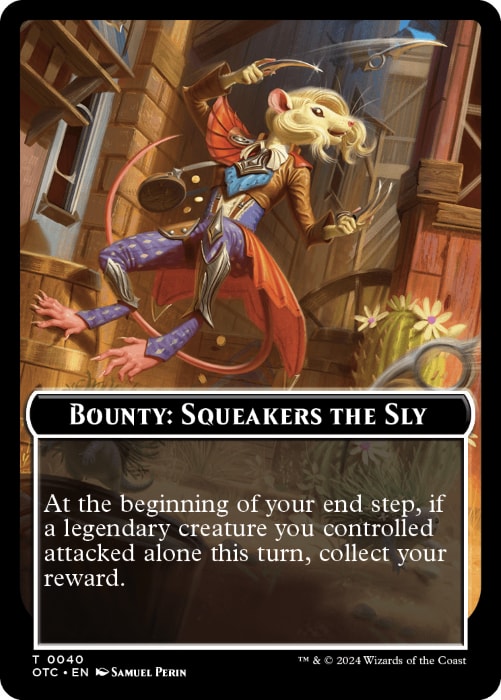
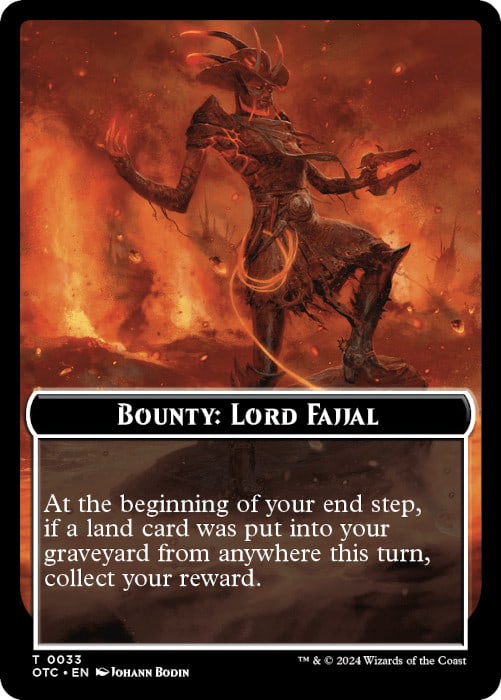
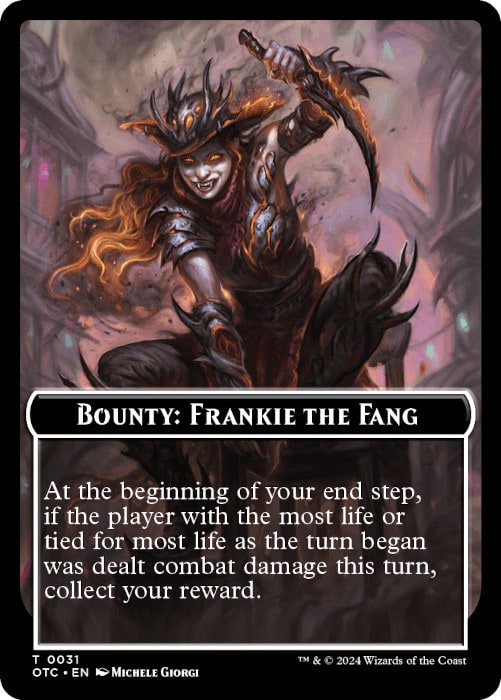
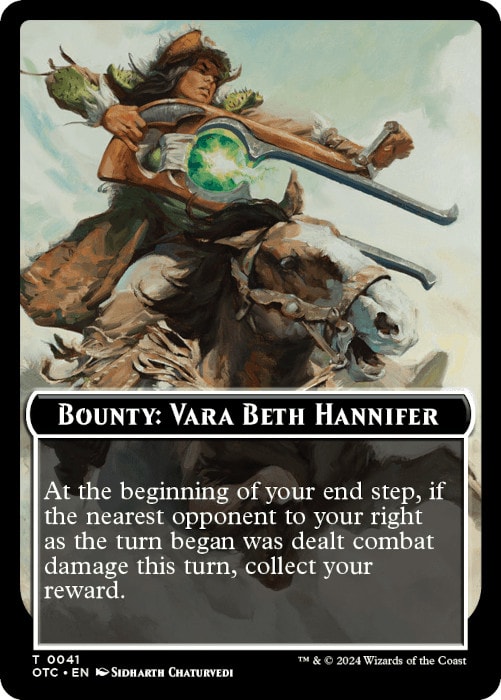
When I heard news Bounties would feature in Outlaws of Thunder Junction Commander, I was thrilled. Mathas, Fiend Seeker was one of my first Commander decks! It was high time for the undercover vampire and Chevill, Bane of Monsters to get more tools. Bounty Hunter and Termination Facilitator do a lot of heavy lifting. But alas, for all the outlaws running rampant in Thunder Junction, there aren't many hunters around to collect their rewards. Which is odd, considering a damn Bounty Board hangs in the town square.
So, if we're not talking counters, what in the world are Bounty cards?
Think of it like a mini game.
The Setup
Bounty cards aren't shuffled into your main deck, nor do they exist in a separate zone. They have their own deck, shared among all players. Cards within are face-down, so no one knows which is coming next. Each Bounty deck must contain a minimum of six unique bounty cards, without the option for multiple copies. Much like your Commander deck, it's all singleton. Each of the Outlaws of Thunder Junction Commander decks comes with three, so there are only twelve maximum Bounties to work with in total. Think of them like a stack of wanted posters, with only the topmost criminal being up for grabs at a given time.
At the start of the Commander game, everyone's initial two turns roll out normally. Play lands, ramp whenever able, and start setting up resources. It's not until the starting player begins their 3rd turn that things get interesting. At this point, the top card of the Bounty deck is flipped over, revealing the criminal quarry. And the task required to capture them.
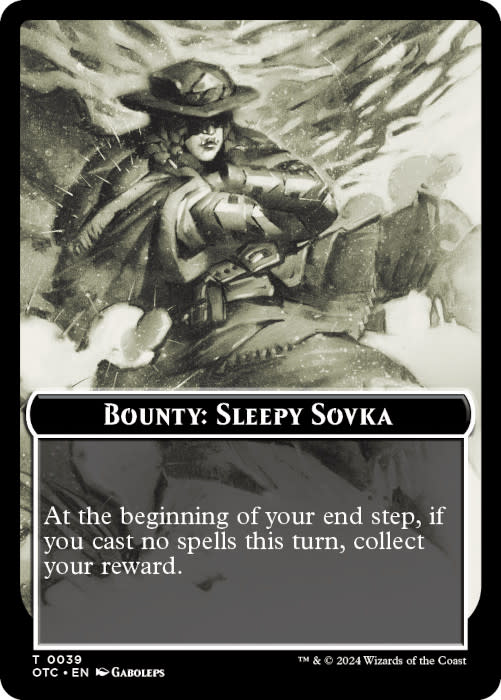
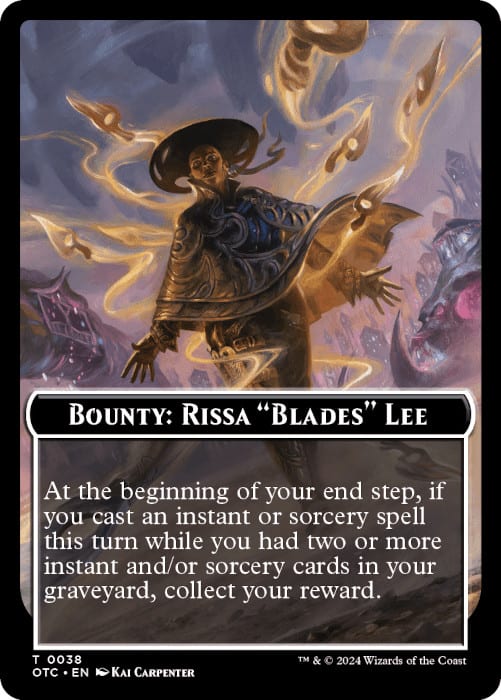
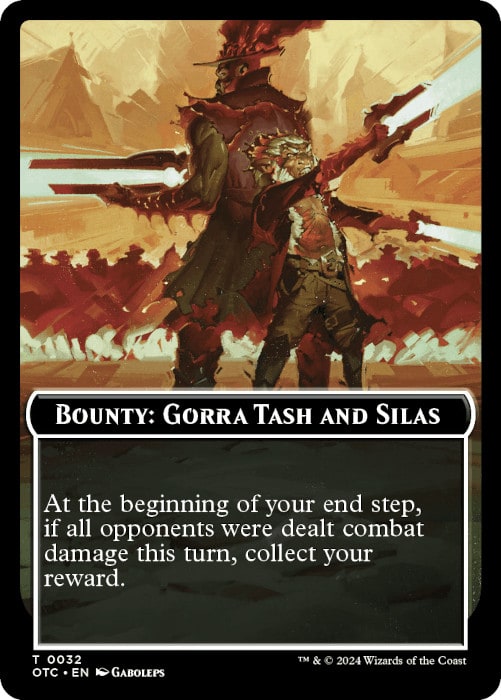
Each Bounty offers an objective for the active player to work towards. To capture the outlaw, you'll need to have that goal met before the end of your turn. Bounty: Sleepy Sovka ask you to go a turn without casting spells, a feat best suited to control or Tovolar, Dire Overlord // Tovolar, the Midnight Scourge decks. Bounty: Rissa "Blades" Lee is all about spell-slinging, working well with generals like Stella Lee, Wild Card and Niv-Mizzet, Parun. Duke Ulder Ravengard's and Adriana, Captain of the Guard's penchant for widespread warfare synergizes perfectly with Bounty: Gorra Tash and Silas. Conditions vary with each random renegade, so you'll have no control over how well the task fits your deck. Luck of the draw, partner. But if you're able to do it, you'll be rewarded. If not, the next player will have a shot. Each time the bounty passes a turn without being claimed, the payoff increases to the next Level. This incentivizes you to swiftly meet these objectives, as even if you only get a small bonus now, you're preventing an opponent from reaping a bigger one later.
If you manage to claim the Bounty, congrats. Collect your reward and the bounty card at the end of your turn. At the start of your next opponent's turn, the next face down card atop the Bounty deck will be flipped over and a new Bounty will begin, with that opponent having the first opportunity to take down the criminal. Once collected, Bounty cards have no function until the entire Bounty Deck is depleted, at which point all collected Bounties get reshuffled into a face-down pile and the process begins anew.
Prior to shuffling up, ensure everyone is on the same page when it comes to including Bounties. They change the entire pace of the game and introduce an element of variance. Much like how some players switch items off during Super Smash Brothers, your opponents may not necessarily want to account for more random effects. They certainly can't afford to ignore them, as escalating rewards offer serious advantages to players who are able to meet the Bounty objectives. It's an all-or-nothing vote.
The Rewards
There'd be little reason to track down these wily characters without incentive. Luckily, Thunder Junction local law enforcement is happy to pay out for each lowlife captured:

Bounty Rules and Rewards
Regardless of the criminal in question, rewards are always the same. They max out at Level 4 and remain there until a Bounty's condition is met. Successful players will only reap a Treasure token or two during the early days of a fugitive's escape, but if the culprit is able to evade capture to Level 3, card advantage spices up the stakes. Players have the option of two Treasure tokens or a free card upon claiming a Level 3 Bounty. But the real jackpot lies at Level 4, where the player gets it all.
And therein lies the tension. It's all well and good if a Level 4 bounty is available on your turn, but what if you've no choice but to pass the opportunity to your opponent?
The Dilemma
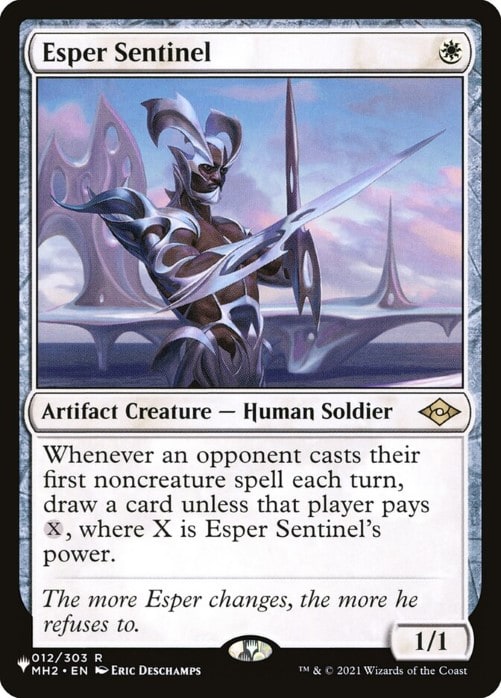
Depending on your strategy or state of the game, you may choose not to go for a Bounty. Say, for example, Bounty: Squeaker the Sly hits Level 2 as your turn begins, and your commander is Skrelv, Defector Mite. An opponent has no blockers, so you're clear to attack and claim the reward, but you'd rather leave Skrelv's ability open to protect your Esper Sentinel, who everyone's eyeing up for removal. Tempting as treasure tokens are, you'd rather keep your Sentinel safe. But that's the issue: If you ignore the Bounty, its Level rises to 3 for your next opponent. Your choice could potentially give them more resources, but their Commander further complicates matter. Is the next player running Zur, the Enchanter? Odds are good they'll claim the bounty. How about if they're running Elminster? No worries there, save for the fact that the bounty will then grow to Level 4 for the next opponent.
The real challenge is variance. If a Bounty condition meets something your strategy already wants to be doing, there's little-to-no work to involved. It's a happy day when you're running Ishkanah, Grafwidow and Bounty: Paq, Fleeting Filcher is up for grabs. But when the condition clashes with your gameplan, it poses the question: Is it more beneficial to advance your own board, or prevent an opponent from claiming the Bounty? The severity of this question varies with Bounty conditions, current (and future) Level, and what sort of Commander decks your opponents are playing.
This is why it's so vital to ensure that a.) Everyone is on board with this style of Commander, as it complicates proceedings, and b.) Everyone agrees on what cards are included in the Bounty deck. With a minimum of only six, it's not difficult to envision a stack that benefits one deck at the table more than the others. For example, many Bounty cards reward dealing combat damage or attacking. This makes sense from a design standpoint; encouraging attack speeds up the game. However, a Bounty deck composed of six attack-centric cards will favor Aurelia, the Warleader far more than Mizzix of the Izmagnus. To get around this, I'd recommend ignoring the 'minimum of six' rule and use all twelve Bounty cards. They're all under twenty-five cents, so snagging a complete set is easy on the wallet.
Commander most often revolves around vanquishing other players. And even with Bounty cards in play, it still ultimately does. But before delivering the final blow to your opponents, you might consider putting your quarrels aside and rounding up some outlaws instead. I'm sure the residents of Thunder Junction will thank you for the efforts. Probably get a few free drinks at the saloon, too.
Thanks for reading, and happy hunting!
-Matt-


